
Managing users
In order to administer users, you need to use an administrator account, and click on a relevant option in the upper right corner of ClauseBuddy.

About users
Users typically correspond to physical persons — like Mia, John, Marie and Peter. You can create as many users as your subscription allows.
Each user will have a security code ("login") associated with his/her account. You can treat this security code as a combination of a user name and password, so you should properly safeguard this code.
Each user can be managed separately by assigning or removing certain rights, preferences and much more.
About groups
Groups typically correspond to different departments in a law firm or inhouse legal team — e.g., Corporate Law, M&A, Employment Law, and so on. Each group you create, will also have its own search folder.
However, because groups also facilitate access control, you may also want to create cross-department groups — e.g. the Aviation Group with lawyers from both Corporate Employment sharing knowledge to work together to target a specific sector.
Each group can have its own "access bundle", i.e. a set of access configurations that define who can read and/or edit folder with clauses.
Managing users
Most aspects of managing users are fairly easy: simply click on a user and change his/her name or email address.

Even so, a few points of attention:
You can designate one or more users as clause curators, i.e. persons to whom everyone can send new clauses, to review/cleanup and insert into the library. Typically, this will be an experienced person.
You can have one or more anonymous accounts. As implied by their name, such accounts do not correspond to one particular person, but are instead intended to be used to allow third parties to use documents/templates without having to login with a username/password/security code. You can create multiple anonymous accounts, because it can be interesting to have slightly different configurations for different types of anonymous logins. For example, one login can be configured to have French as its default setting and be allowed access to corporate governance folders; while another anonymous accounts can be configured to show content in English and be allowed access to employment folders.
The Personal search folder gives users their own separate search folder in the Quality Library for individual use. Other users cannot access.
Disable account will deactivate the relevant account. This is the procedure to use in case you want to delete a user.
You can still view these disabled users later by clicking Show disabled users at the top of the screen.
By clicking on the Groups button, you can see which groups the user is a member of. If you want to effectively change memberships, you should go to the Groups management section (described below).
By clicking on the Security codes button, you can get an overview of the security code(s) currently assigned to each user. Here you can create new security codes for the user. There is also the option to choose the duration of the code. For example, you can choose a code that expires after x number of hours, days, weeks, etc or, of course, you can also choose a code with no expiry date.

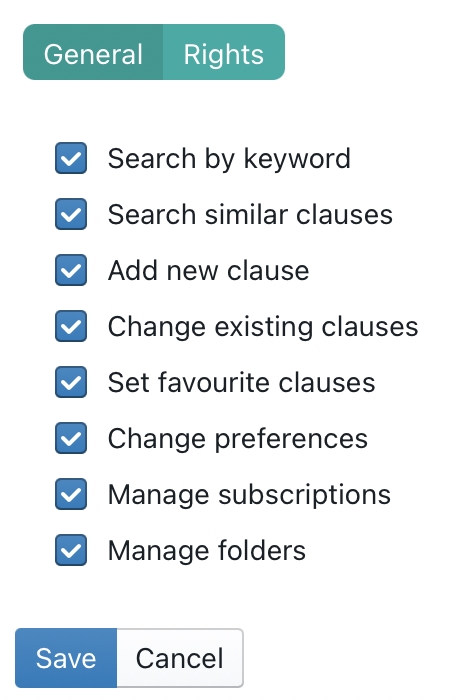
In the Rights part, you can assign or revoke rights for each user. For example, you may want to remove certain search options for less experienced users in your team.
In the Preferences tab, you can change user preferences such as language and currencies.

Managing groups

Editing groups is as easy as clicking an existing group and modifying its properties. Or clicking the green + New group button to create a new group. Even so, a few points of attention:
When creating a new group, you are asked whether the new group should have its own sub-library. For most groups that you will create, you will indeed want to create such as sub-library, as it comes with its own search folder, and therefore allows you to logically segment your content into different parts. However, some groups are purely created for access control reasons, and may therefore not require their own sub-library.
In the Members tab of the group (not visible until a group is effectively created) you can assign or revoke the membership of every user.

You can even assign Curators to a specific group. Doing this will make the name of the curator(s) visible when a user wants to send a clause to the curator for a folder in the Quality Library that that particular group has access to.
When you check the New user default option, this group will be assigned to a new user that gets manually created by the administrator. (The administrator can however manually disable membership of that group, if he doesn't want the new user to be a member.)
When On-the-fly-default is checked, a new user will automatically be assigned membership of this group when first being authenticated via SSO. Read the section on On-the-fly-default below for more information.
Managing profiles
For enterprise-deployments, you probably also want to use profiles. These allow you to create different bundles of rights, assign them to different types of users, and then centrally update them. The main advantage of these profiles is that you can centralise the management of all rights, so that you don't have to manage each user individually.
You can create as many profiles as you want (potentially with overlapping rights), and then assign one or more profiles to an individual user. All rights of all profiles assigned to each user are then accumulated. A typical setup is for example to have the following in a law firm:
a "base" profile in which a minimum number of rights are activated
a profile for curators, in which you assign a few additional rights
a profile for senior legal experts, with a few other rights
a profile for testers, with all rights enabled.
If a certain lawyer would then be assigned the rights of "base" + senior legal expert + testers, she would get the combination of all rights.
You can easily manage the profiles through self-explanatory buttons in the management settings of ClauseBuddy.

Once one or more profiles are assigned to a particular user, it is no longer possible to configure the individual rights for a particular user. The rights will be greyed out:

Managing LLMs through profiles
Profiles also allow you to manage which LLMs can(not) be used by certain combinations of users and ClauseBuddy modules. See our separate help-page for more information.
New user defaults
A profile can also be set to be the "new user default". This means that if a new user is manually created by the administrator, the user will automatically be assigned this profile. In a typical setup, you will for example assign the "base user" profile as the default for new users.
On-the-fly-default
If Single Sign On (SSO) is actived on your account, then you will also see the On-the-fly-default option when you select a profile or group.
This setting allows you to specify which profile(s) need to be assigned to a user who for whom no account exists in the ClauseBuddy server, but who is authenticated by your authentication server (e.g., Microsoft Entra / Azure). If at least one profile is set as on-the-fly-default, then ClauseBuddy's server will automatically create a user account for this user and assign the profile(s) tagged as on-the-fly-default to that user account, as well as any group that is set as a default group for the user.
In practice, this allows large organisations to avoid having to individually create users within ClauseBuddy. Assuming that a user can authenticate through the customer's SSO-server, ClauseBuddy's server will automatically create the user account and apply reasonable defaults.
Last updated