Installation
Installing in MS Word
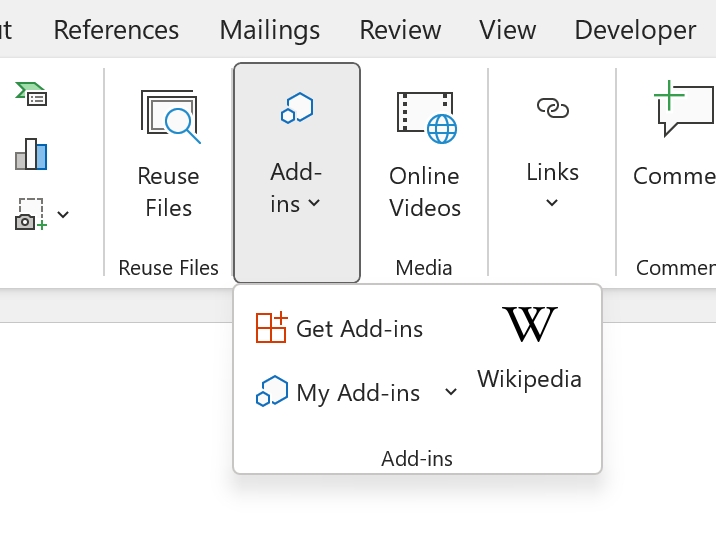
Installing ClauseBuddy is usually very easy in any recent version of Microsoft Word, on Windows or macOS. Assuming your IT department has not disabled this possibility (in which case you should look at our Enterprise deployment page), simply go the Insert tab in your toolbar, and click on Get add-in.

Note that on smaller screens, this button may got folded into another button:

Similarly, on older versions of Word, it may be called Add-ins, located in the Home tab of the toolbar.

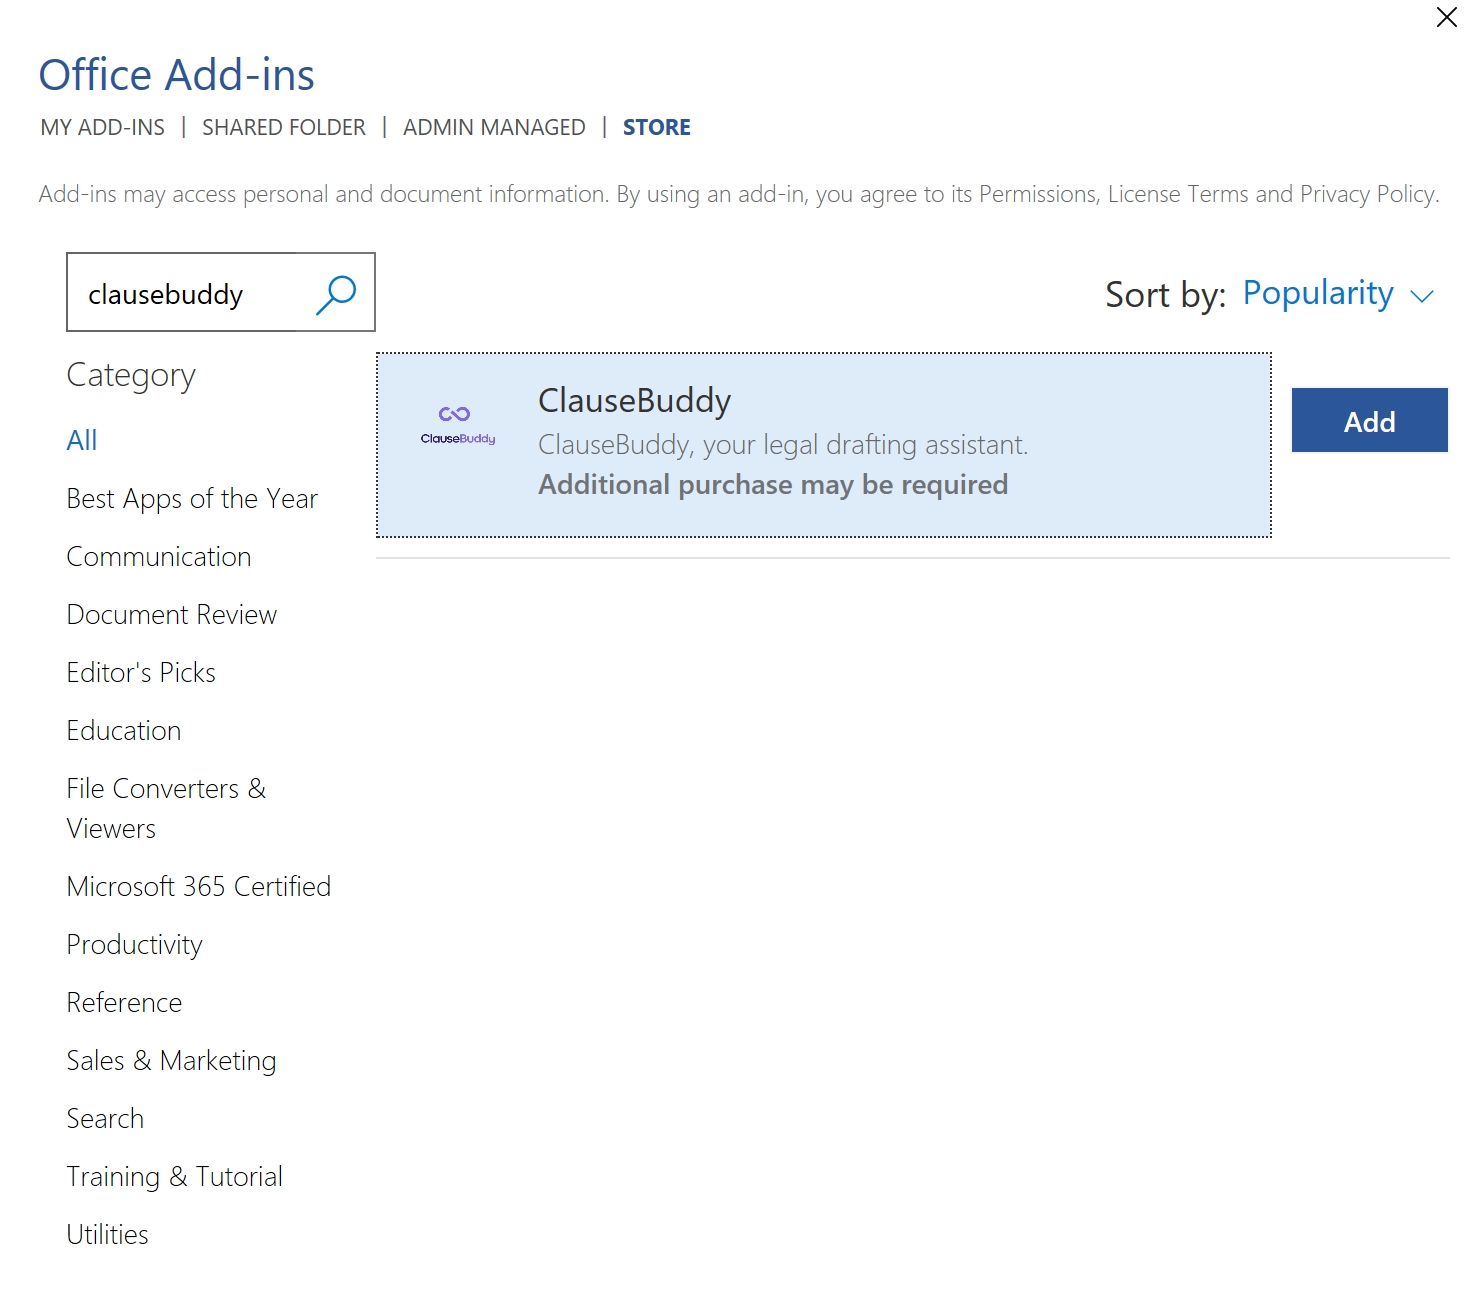
In the dialog box that appears, search for ClauseBuddy and click on the Add button.

After installation, you will see an icon for ClauseBuddy at the right side in your Home tab.

Installing in MS Word for Mac
The procedure is roughly the same as for Windows, but the button is different:

Installing in MS Outlook (versions before 2024)
The installation is very similar to Microsoft Word: click on the Get Add-Ins button in your toolbar.

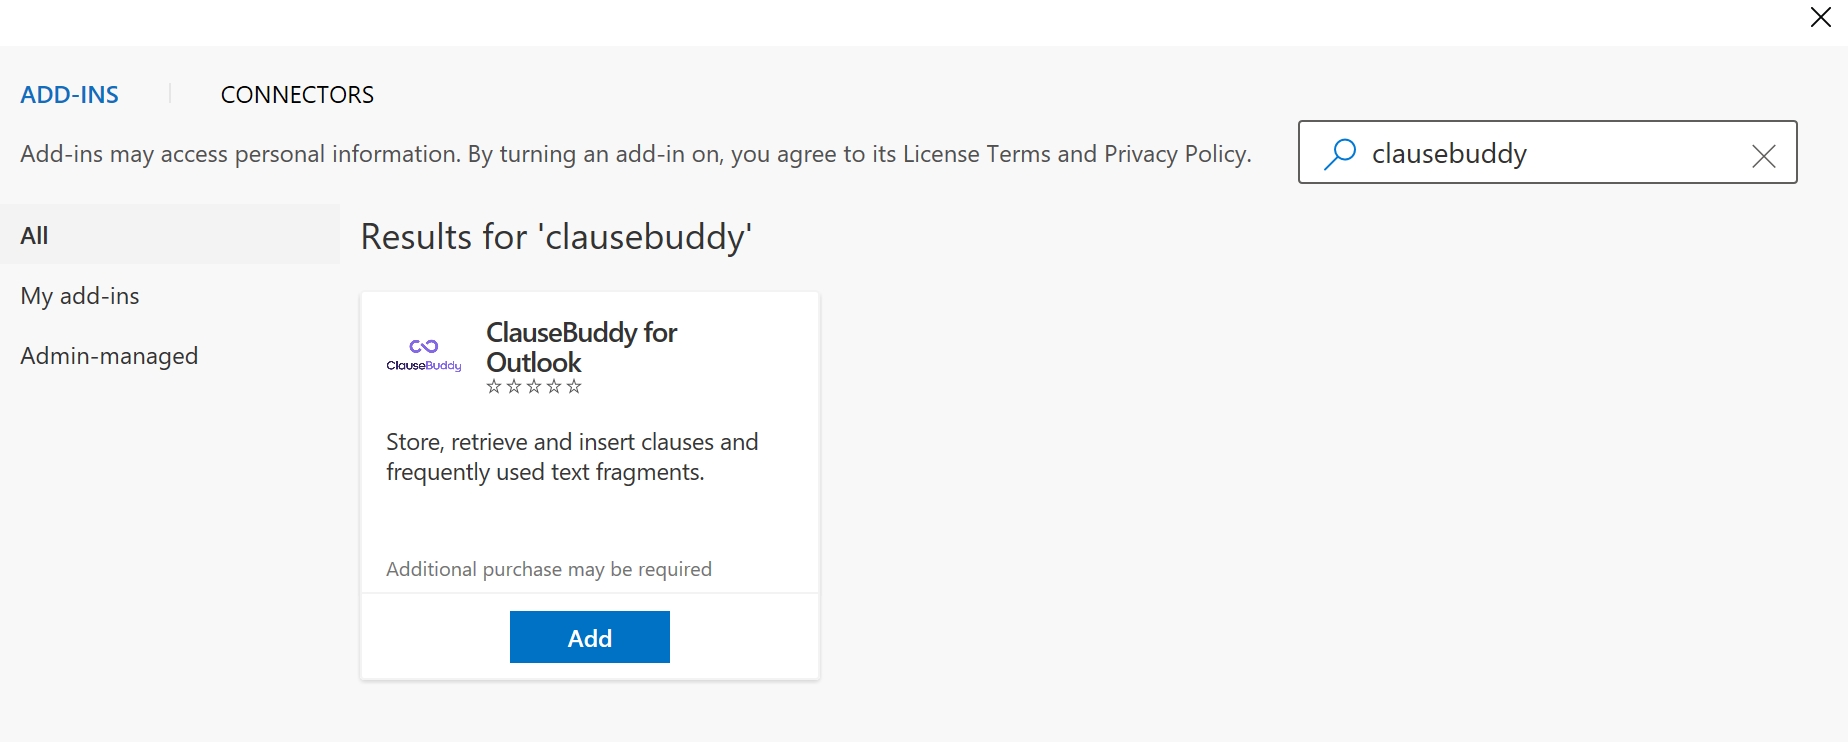
In the dialog box that appears, search for ClauseBuddy for Outlook, and click on Add.

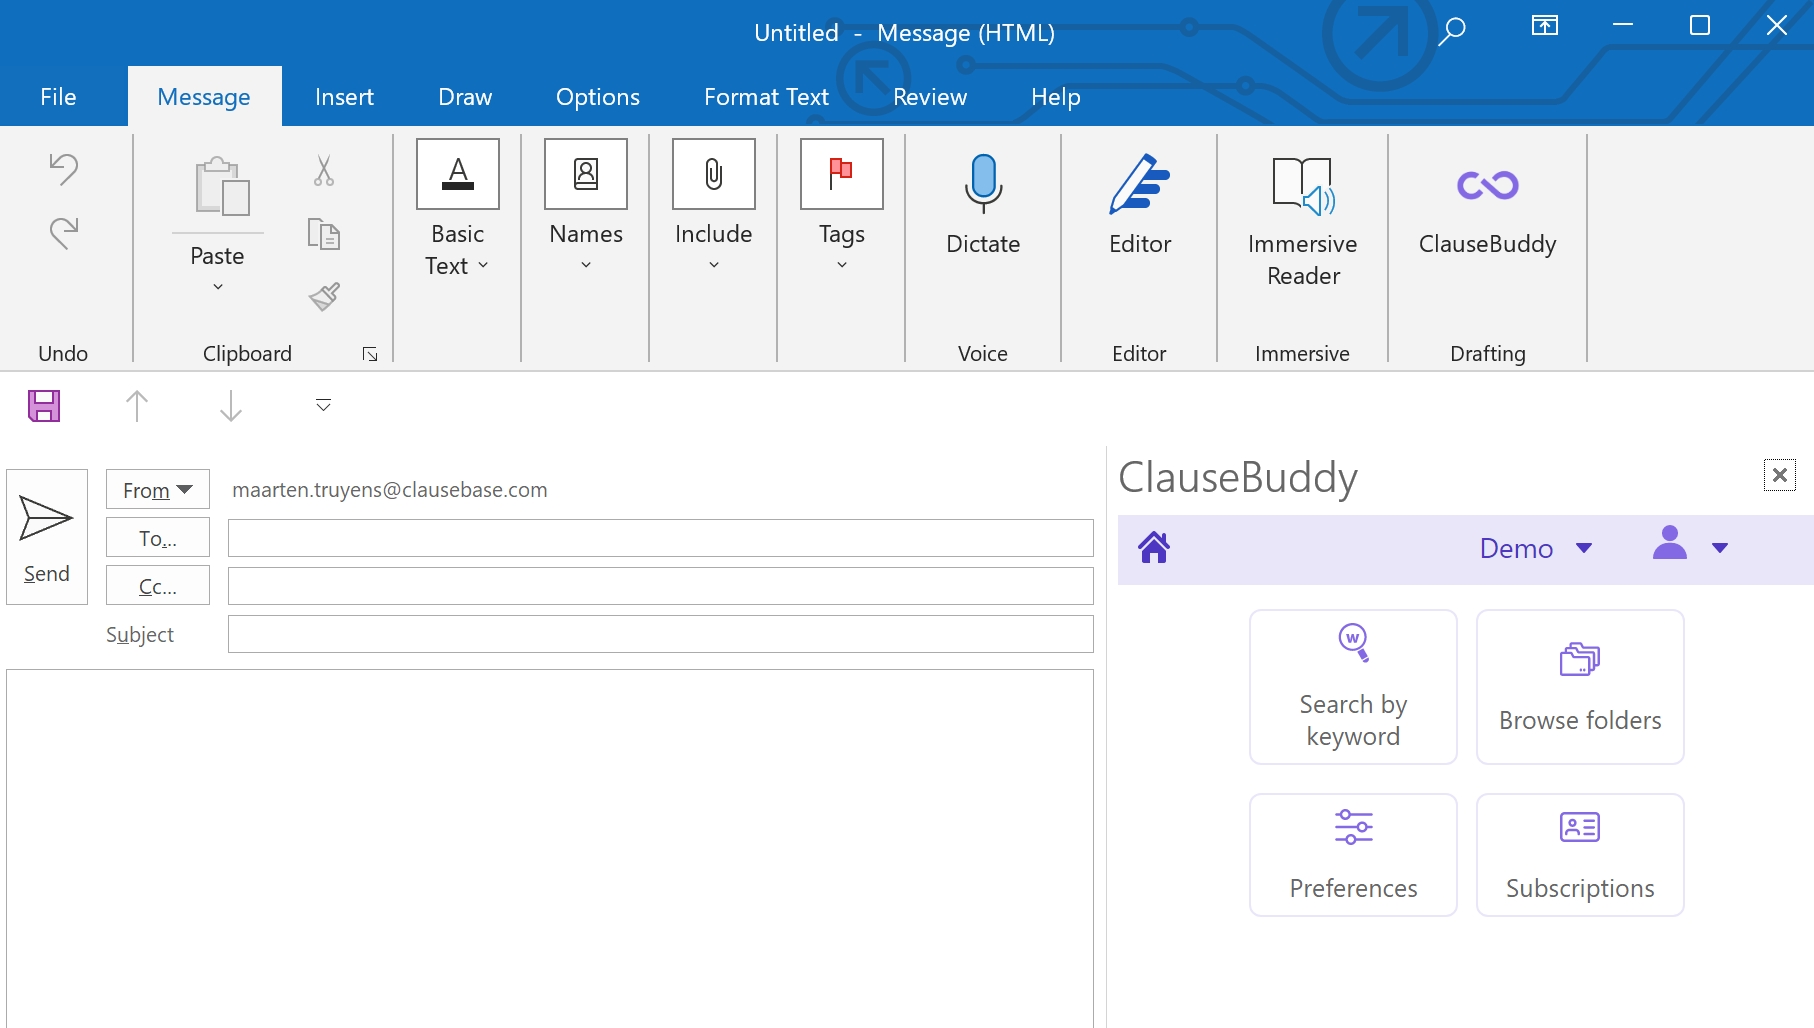
ClauseBuddy will then be available by clicking on the button in your "Messages" toolbar when you draft a new email:

Microsoft Outlook (newest version for Windows)
In the new version of Microsoft Outlook for Windows, the "Apps" button is located in a different part of the Ribbon at the top.

Next, you search for "ClauseBuddy" in the store, and click on ClauseBuddy when you see it:

Getting a blank screen?
If the ClauseBuddy panel is shown with a blank screen, then this means that you have an unsupported combination of Windows and/or Microsoft Office. Check our article on the system requirements.
Using in a browser
You can even use ClauseBuddy when you do not have Microsoft Word or Outlook available (or you do not have the right to install it, e.g. because your IT-department disabled this possibility). When you use any modern browser — Chrome, Safari, Firefox, the new Microsoft Edge, Vivaldi, Brave, etc. — you can simply go to https://app.clausebuddy.com.
The advantage is that you do not need to install anything, but the downside is of course that there is no tight integration with Word or Outlook. This means that you will have to copy / paste everything from & to Word or Outlook, and that some features will simply not be available (e.g., comparing a clause you found with some clause you selected in MS Word, or enforcing your house style).
Last updated