Compose Document
ClauseBuddy's AI Bot enables you to draft full documents by combining the power of AI with your own curated clause library. Those documents can then be exported into clean MS Word files (using your house style where possible), or can be directly inserted into MS Word.
We call this combination of your own legal expertise with the power of AI "hybrid drafting".
Examples
Upon entering the Compose Document page you will be immediately presented with a selection of examples in multiple languages (if you have multiple languages available per your Preferences). Clicking one of these will take you to the main Prompt tab, with the document outline pre-filled.
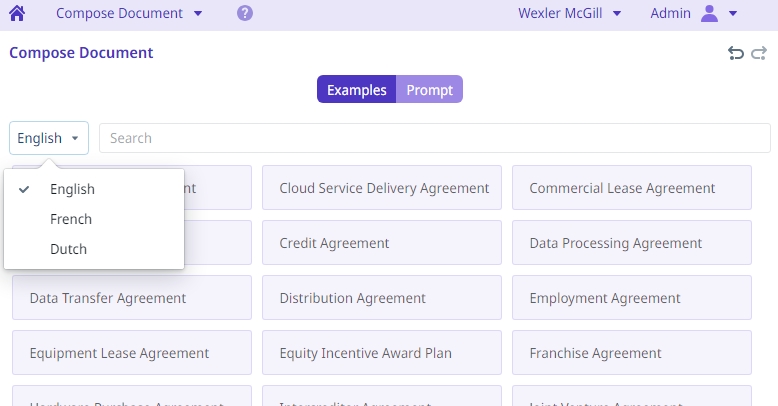
Otherwise, you can click straight through to the Prompt tab to create your own document from scratch.
Step 1: Creating an outline
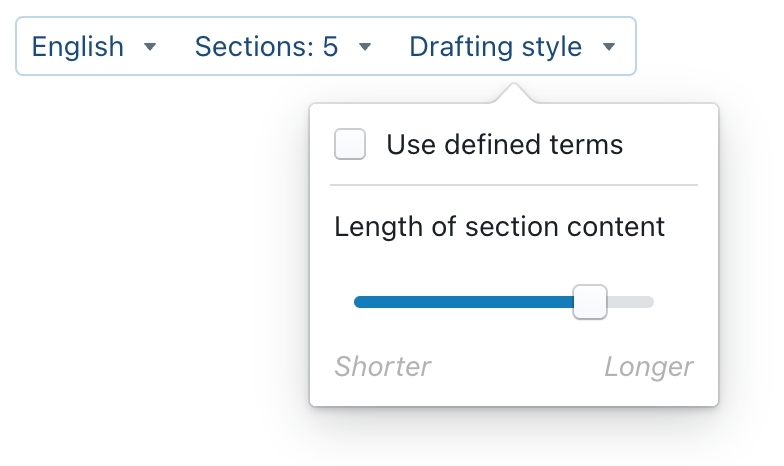
As a first step, you need to instruct the AI Bot to draft an outline of your document, by writing a good prompt in the dedicated box, choosing the right language, the number of clauses and the drafting style.
As for the drafting style, you can choose whether to instruct the AI to use defined terms (i.e., legal concepts that are typically written with a capital letter). You will usually want to enable this for contracts, but only sometimes for memos.
You can also specify the section content's relative length with the slider in the popup menu. This will
When done, clicking on the Draft button.

The button will then turn green and interactively compose your outline after a few seconds. When it is completely done, you will see additional buttons appear on the screen.
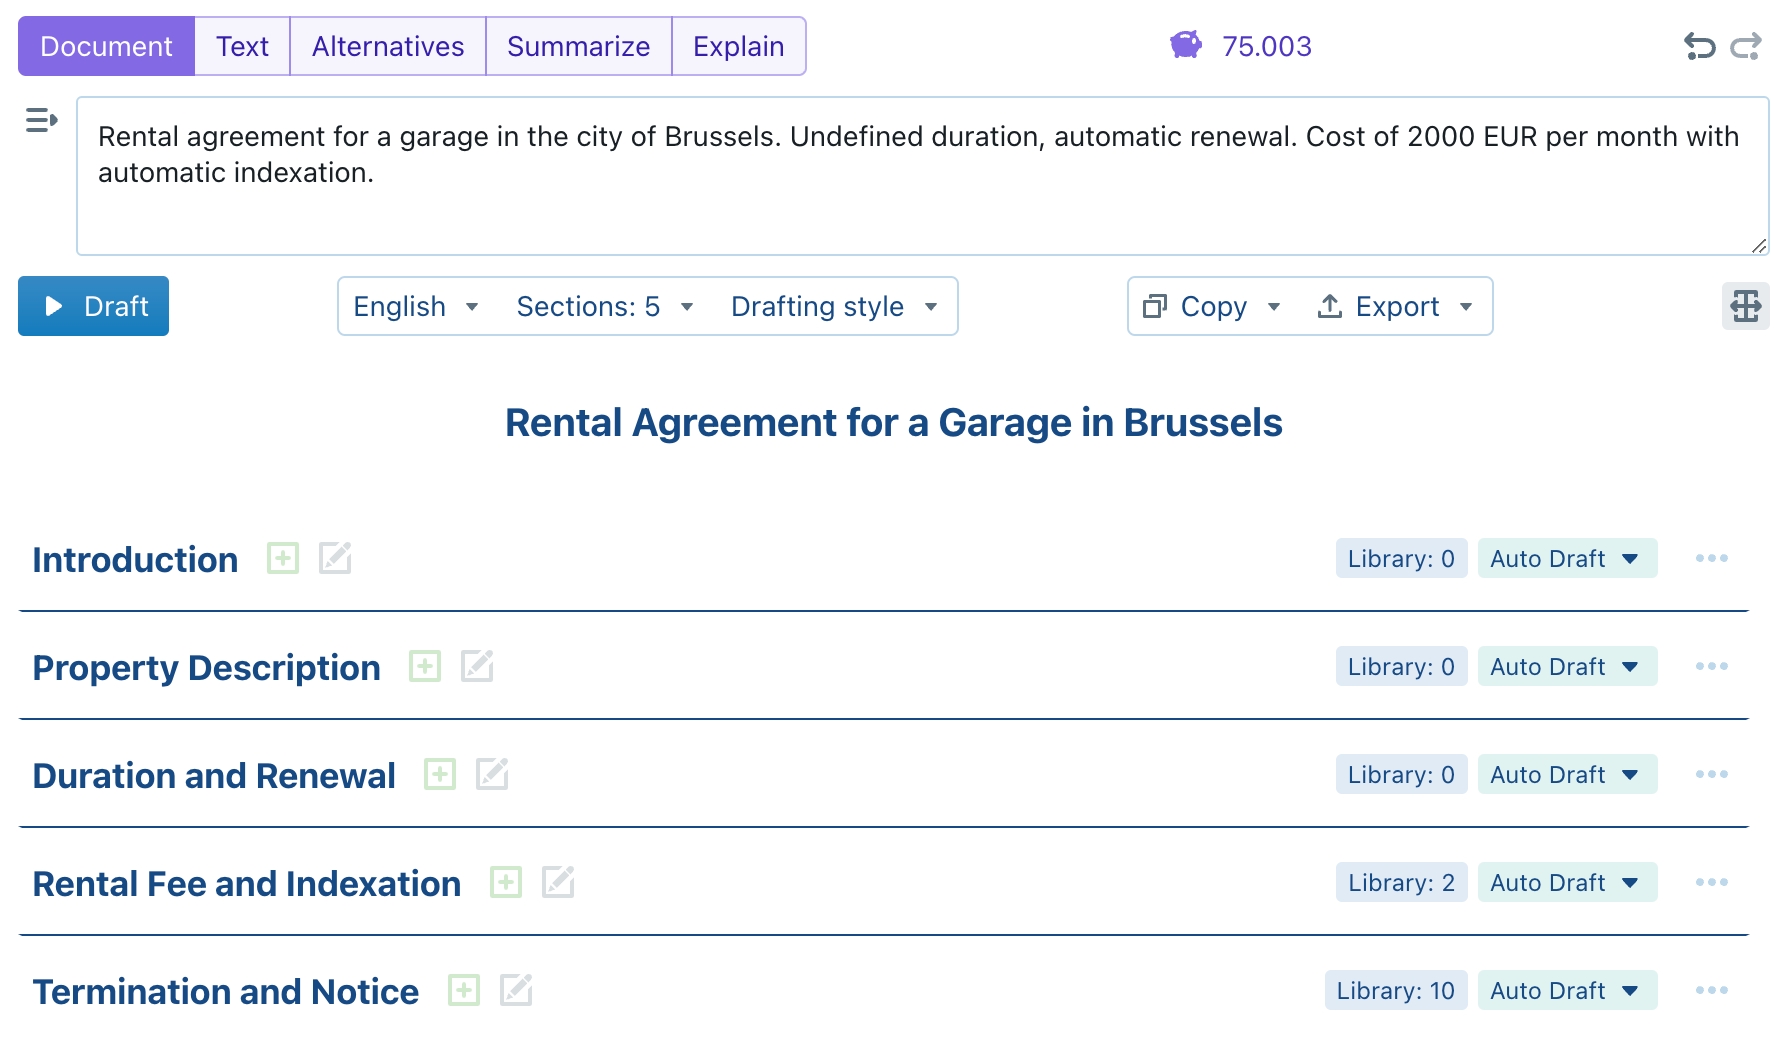
The more detailed your instructions are, the better the outline will become. Some examples:
"Software development agreement, German law & courts, very short, fixed duration of 2 years, balanced."
"Rental agreement for a garage in the city of Brussels. Undefined duration, automatic renewal. Cost of 2000 EUR per month with automatic indexation."
You are not limited to contracts: legal memos, letters, etc. are equally possible. Despite this module's label "Document", you can also draft one or more isolated clauses, and enjoy the advantages of having structured paragraphs with numbering and automatic layout.
Step 2: Filling the body of each clause
Once the outline has been created, you can start filling the individual clauses.
Instructing the AI to draft the body
You can ask the AI to draft your clause by clicking on the Auto Draft button at the right side:

You can optionally add additional instructions in the dialog box that appears — e.g., to specify legal details you would like to be included in the clause that needs to be drafted.
You can press the Enter key, instead of having to manually push the blue button at the right side.
The AI will then start generating your clause, taking into account the outline, its position in the outline, and any additional drafting instructions you submitted.
Inserting clauses from your clause library
The blue Library: xxx button at the right side of each clause shows you how many clauses were found in your own clause library that could be a match.
The matching of the clauses is performed on a keyword-basis (taking into account grammatical variations), so there is probably some over-fitting or underfitting in the results. In other words, even when there appear to be zero matches, you may want to check the contents of your own clause library.
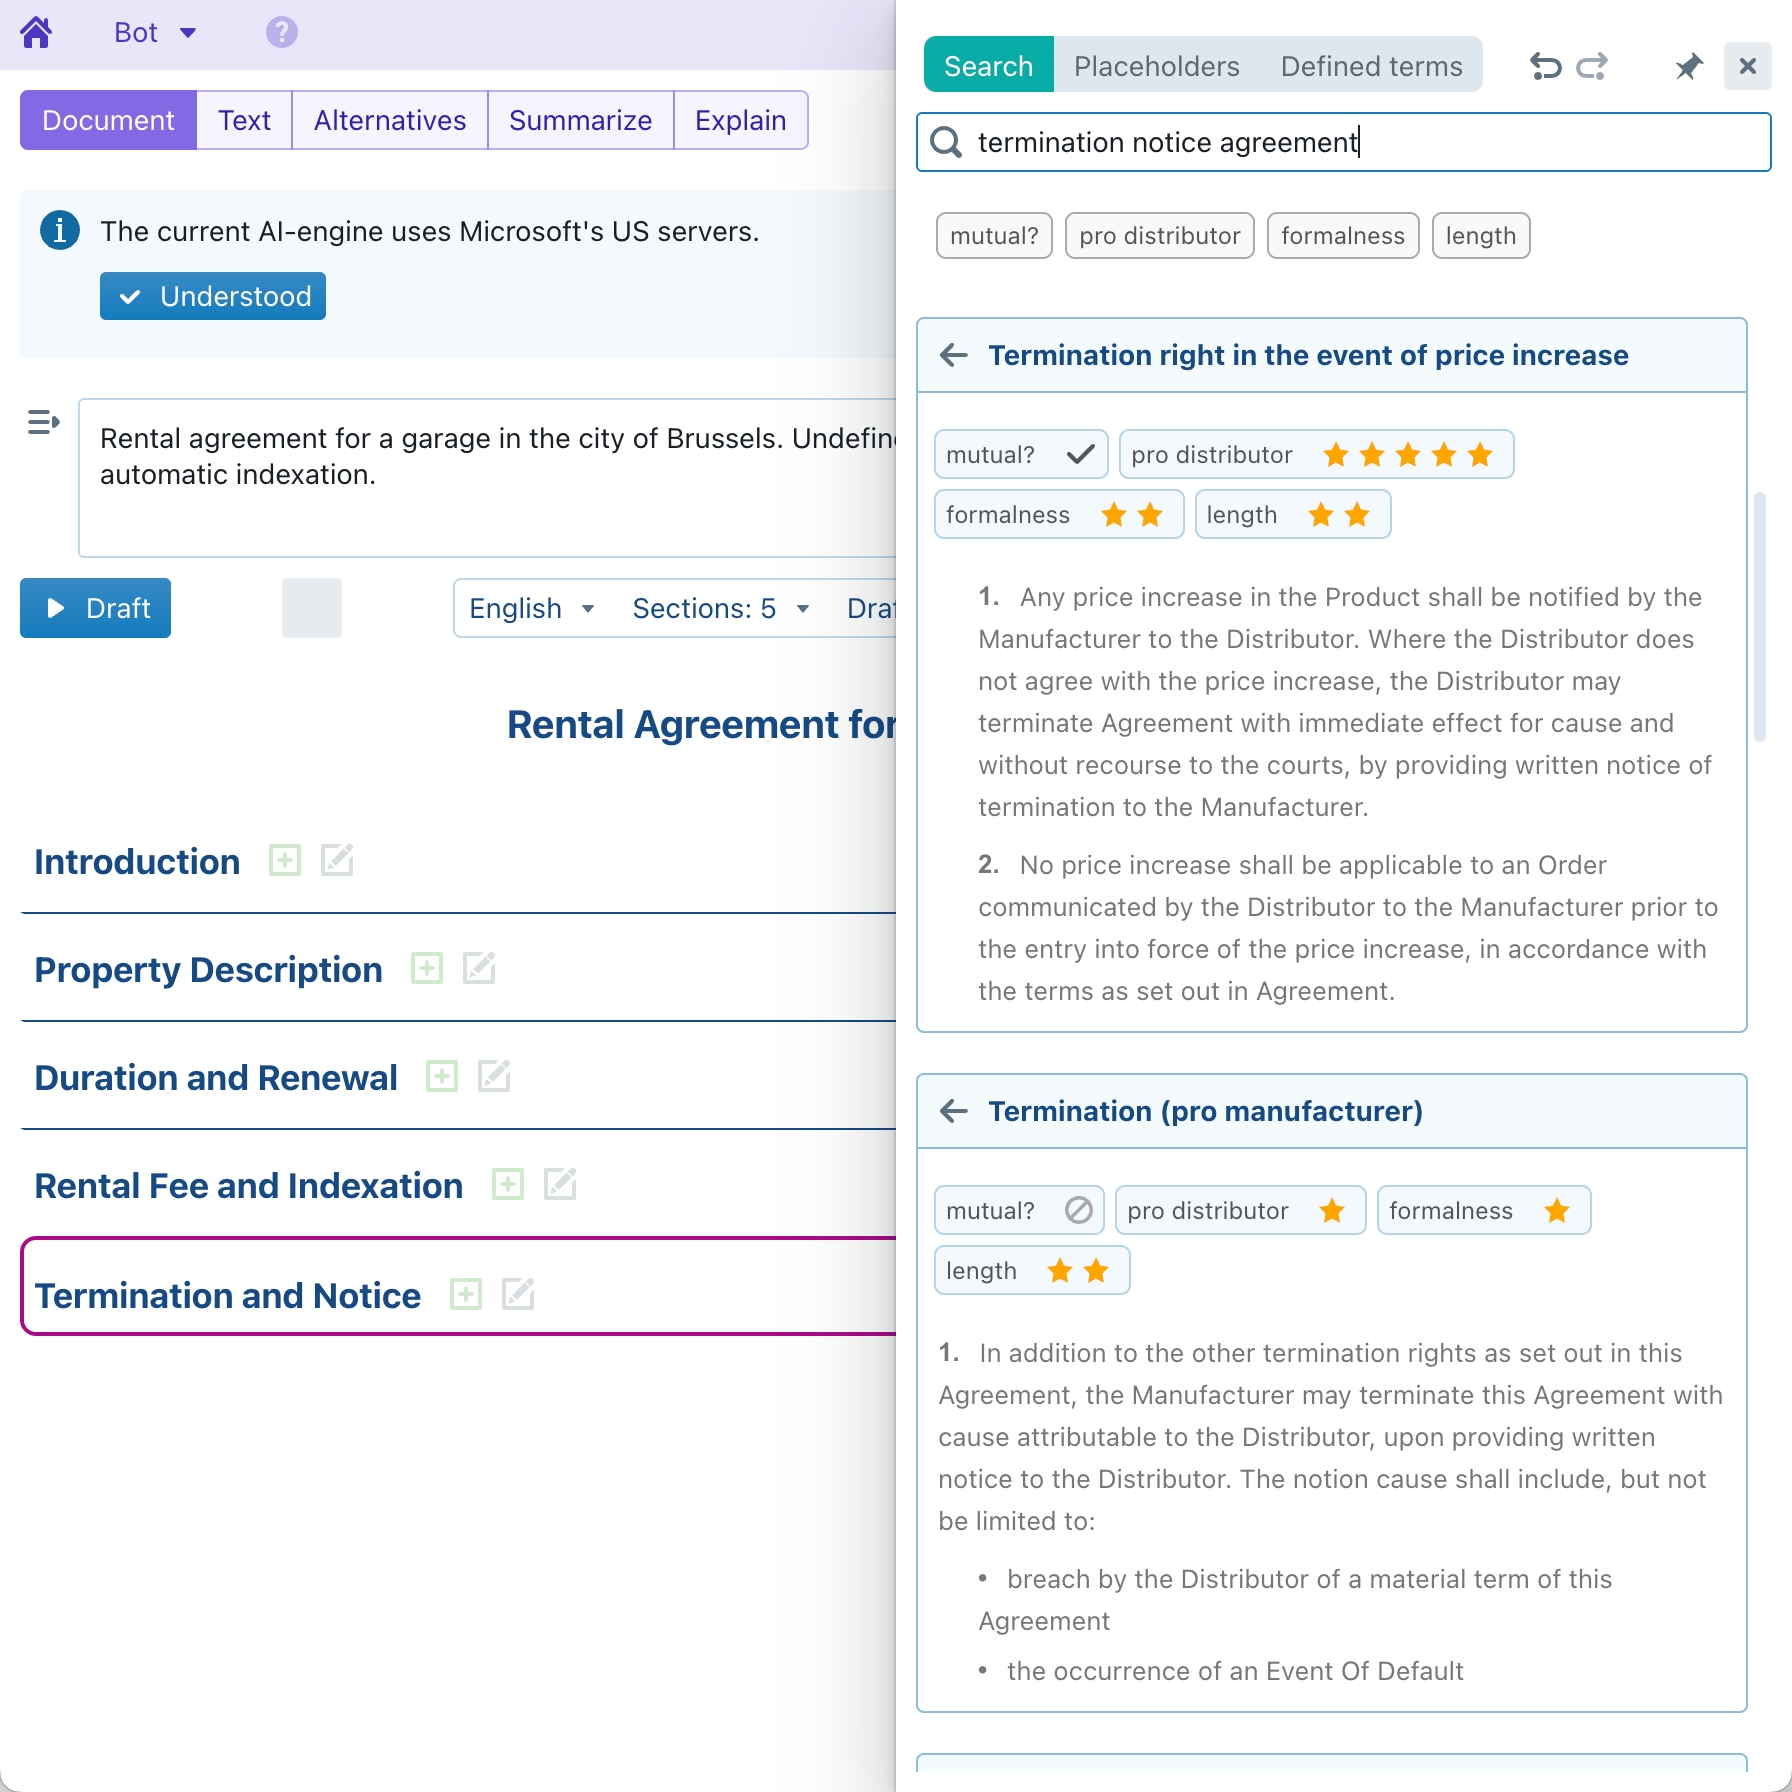
You can change the keywords that were used in the search, by altering the contents of the box in the upper right corner of the popup-drawer. This will automatically instruct the server to find new clauses in your library that match those keywords.
If multiple clauses are found and attributes were associated with one or more found clauses, then you can click on one of the grey boxes at the top to only show found clauses that match those attribute filters.
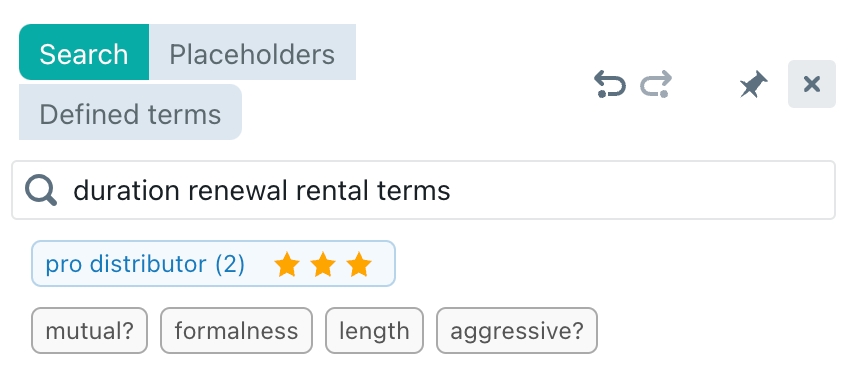
Click on the filter (e.g., the "pro distributor" example in the screenshot above) to remove it again.
Manually drafting or editing the body
You can also edit the body manually (as a first draft, or to edit the AI's text) by clicking on the pencil icon.
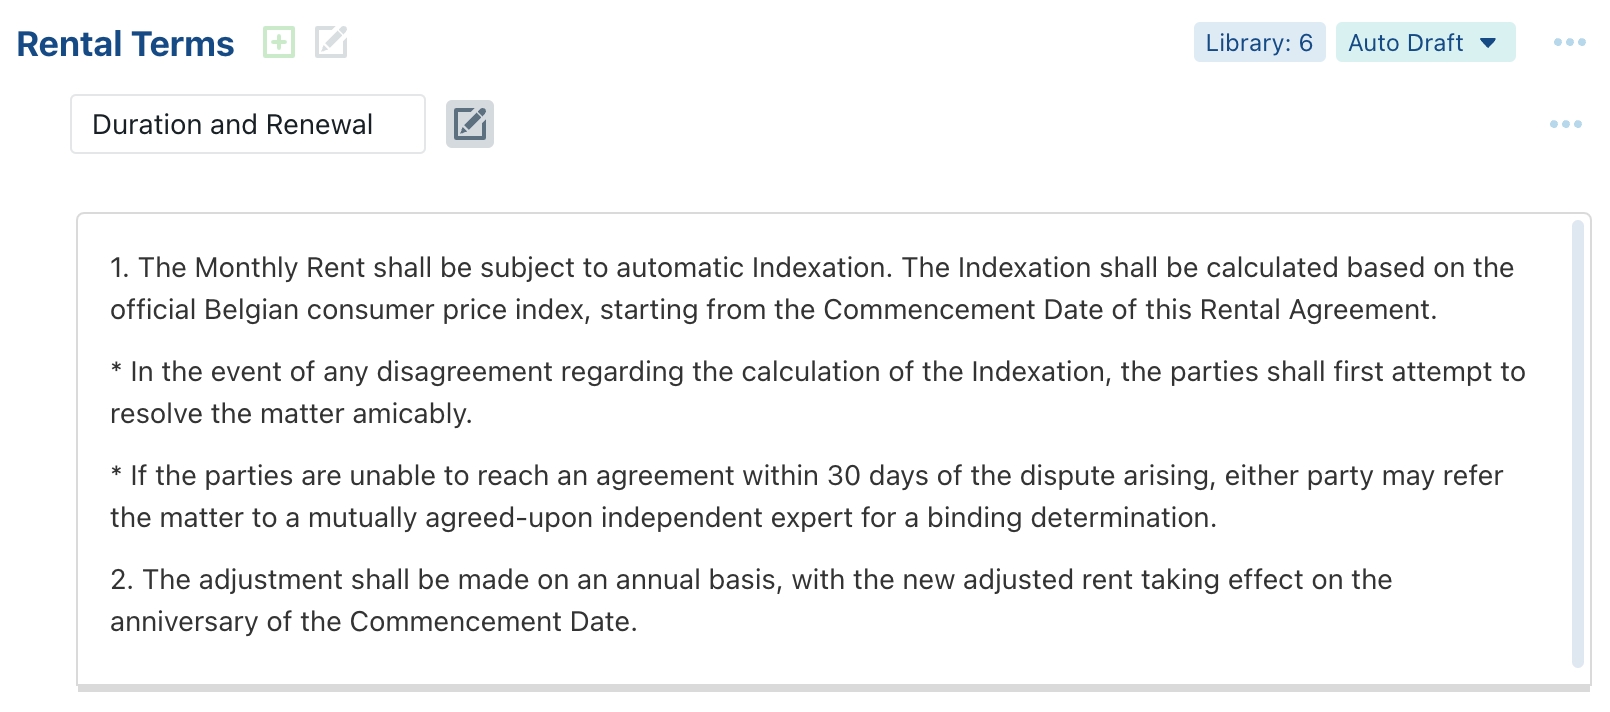
The text editor is identical to the editor you can find elsewhere in ClauseBuddy, and the same rules apply (e.g., start paragraphs with 1., 1.1, 2. or one or more asterisks). You can apply your changes by clicking again on the pencil icon.
Step 3: Rephrasing clauses
Once a clause has been drafted (manually or by the AI), you can get suggestions on modifications and instruct the AI to rephrase the contents.
Yo can do so by clicking on the wrench-icon:
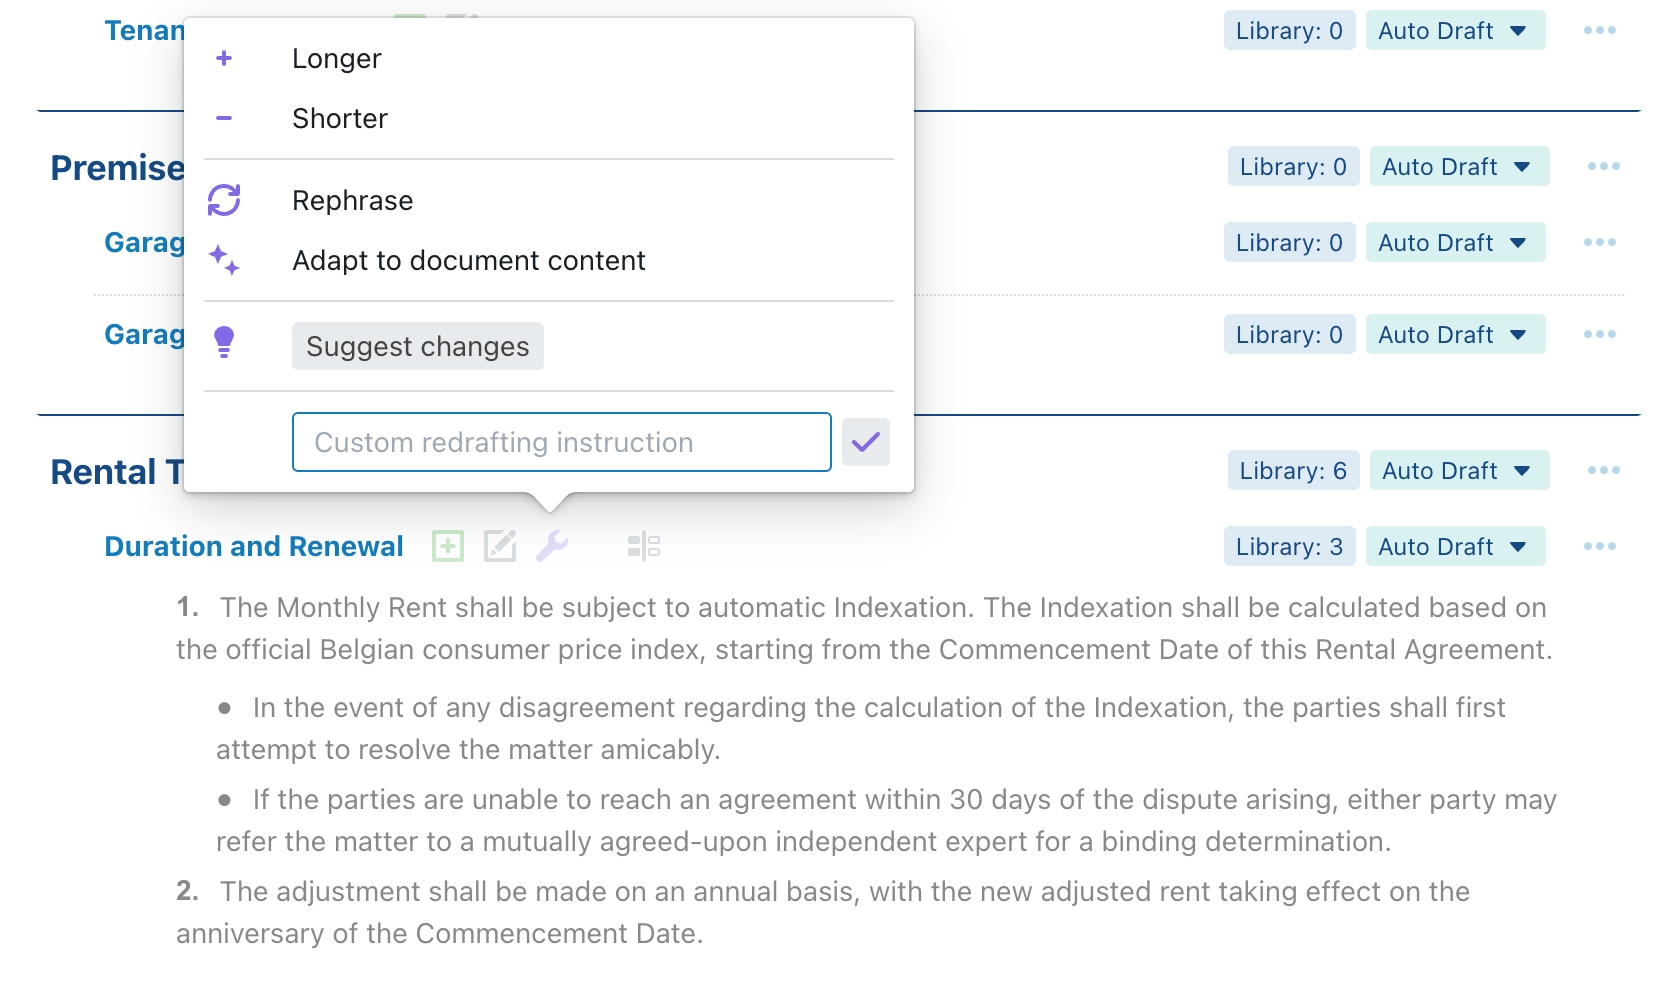
A first possibility is to directly instruct the AI, by drafting an instruction in the box at the bottom of the popup (e.g., "add paragraph on automatic termination", "make it more neutral", "also mention yearly indexation, and draft the amounts in full", etc.).
You can press the Enter key, instead of having to manually push the blue button at the right side.
A second possibility is to request the AI to suggest possible changes to the clause, by hitting the Suggest changes button.
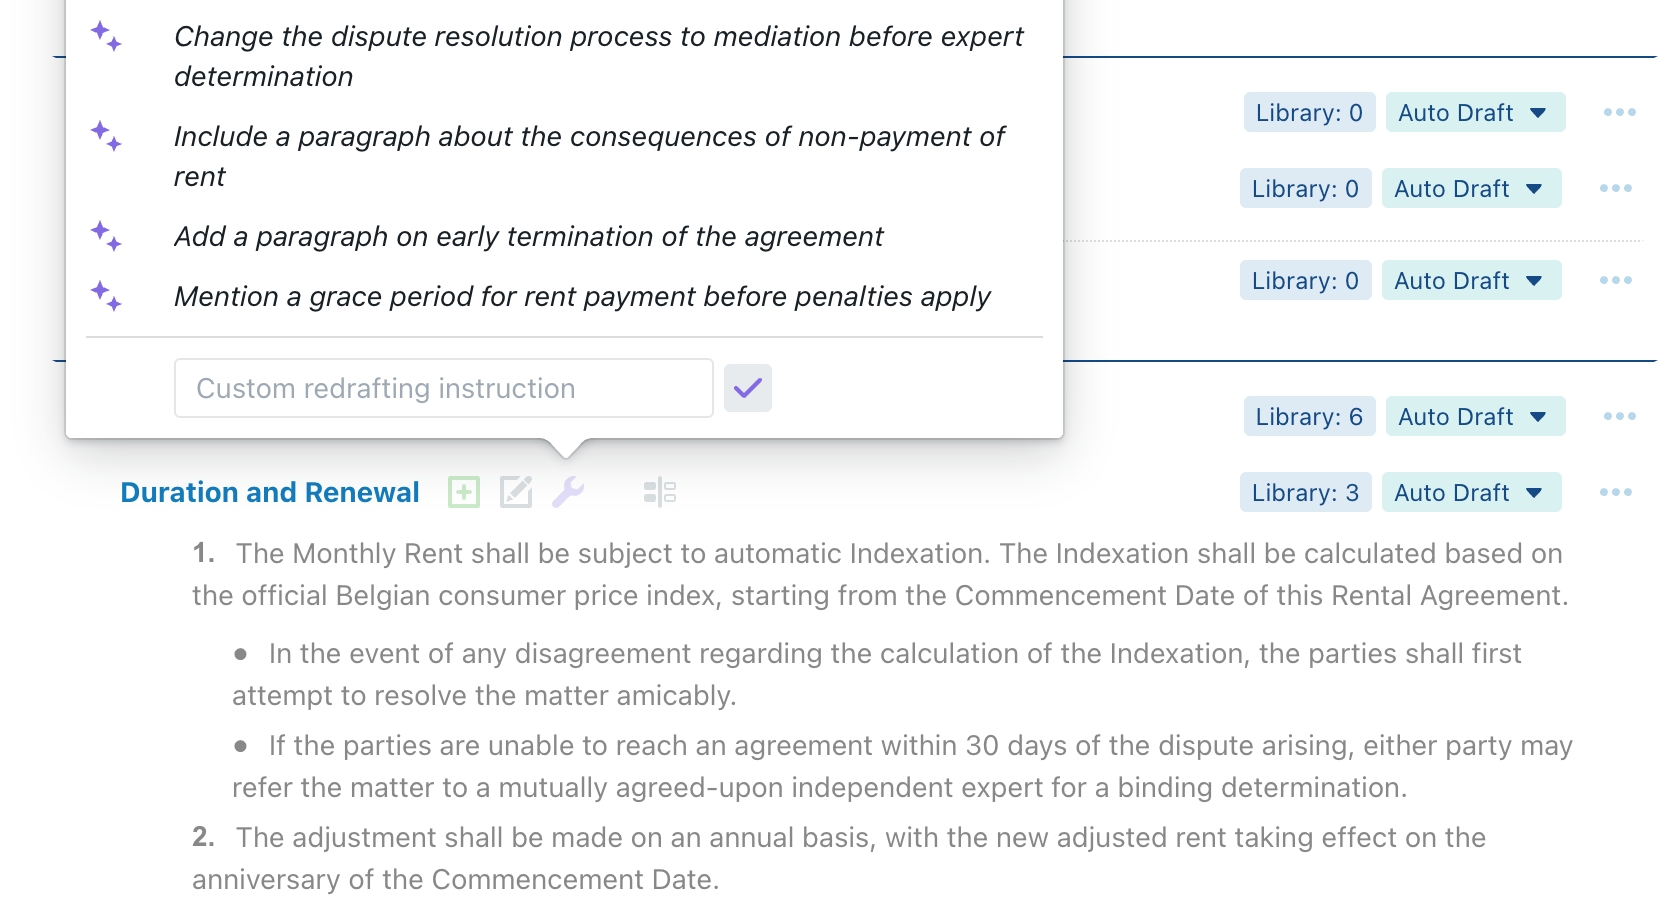
The AI will then draft four possible changes that seem relevant for the clause at hand, taking into account both the current contents of the clause and the last version of your outline prompt. Simply click on one of those suggestions to effectively apply the suggested instruction.
As a third possibility, you can use the Adapt to document content option. It allows you to redraft the contents of a certain clause, taking into account the context of the document and all the terms in the defined terms panel (see below). This is very useful to "re-align" the wording of some clause you inserted (e.g., from your own clause library) with the rest of the document, e.g. to ensure that the terminology and drafting style is the same.
Finally, you can also use one of the other options in the popup menu:
Longer drafts a longer version of the current clause, while Shorter does the opposite.
Rephrase instructs the AI to simply use different wording to say exactly the same.
Comparing versions
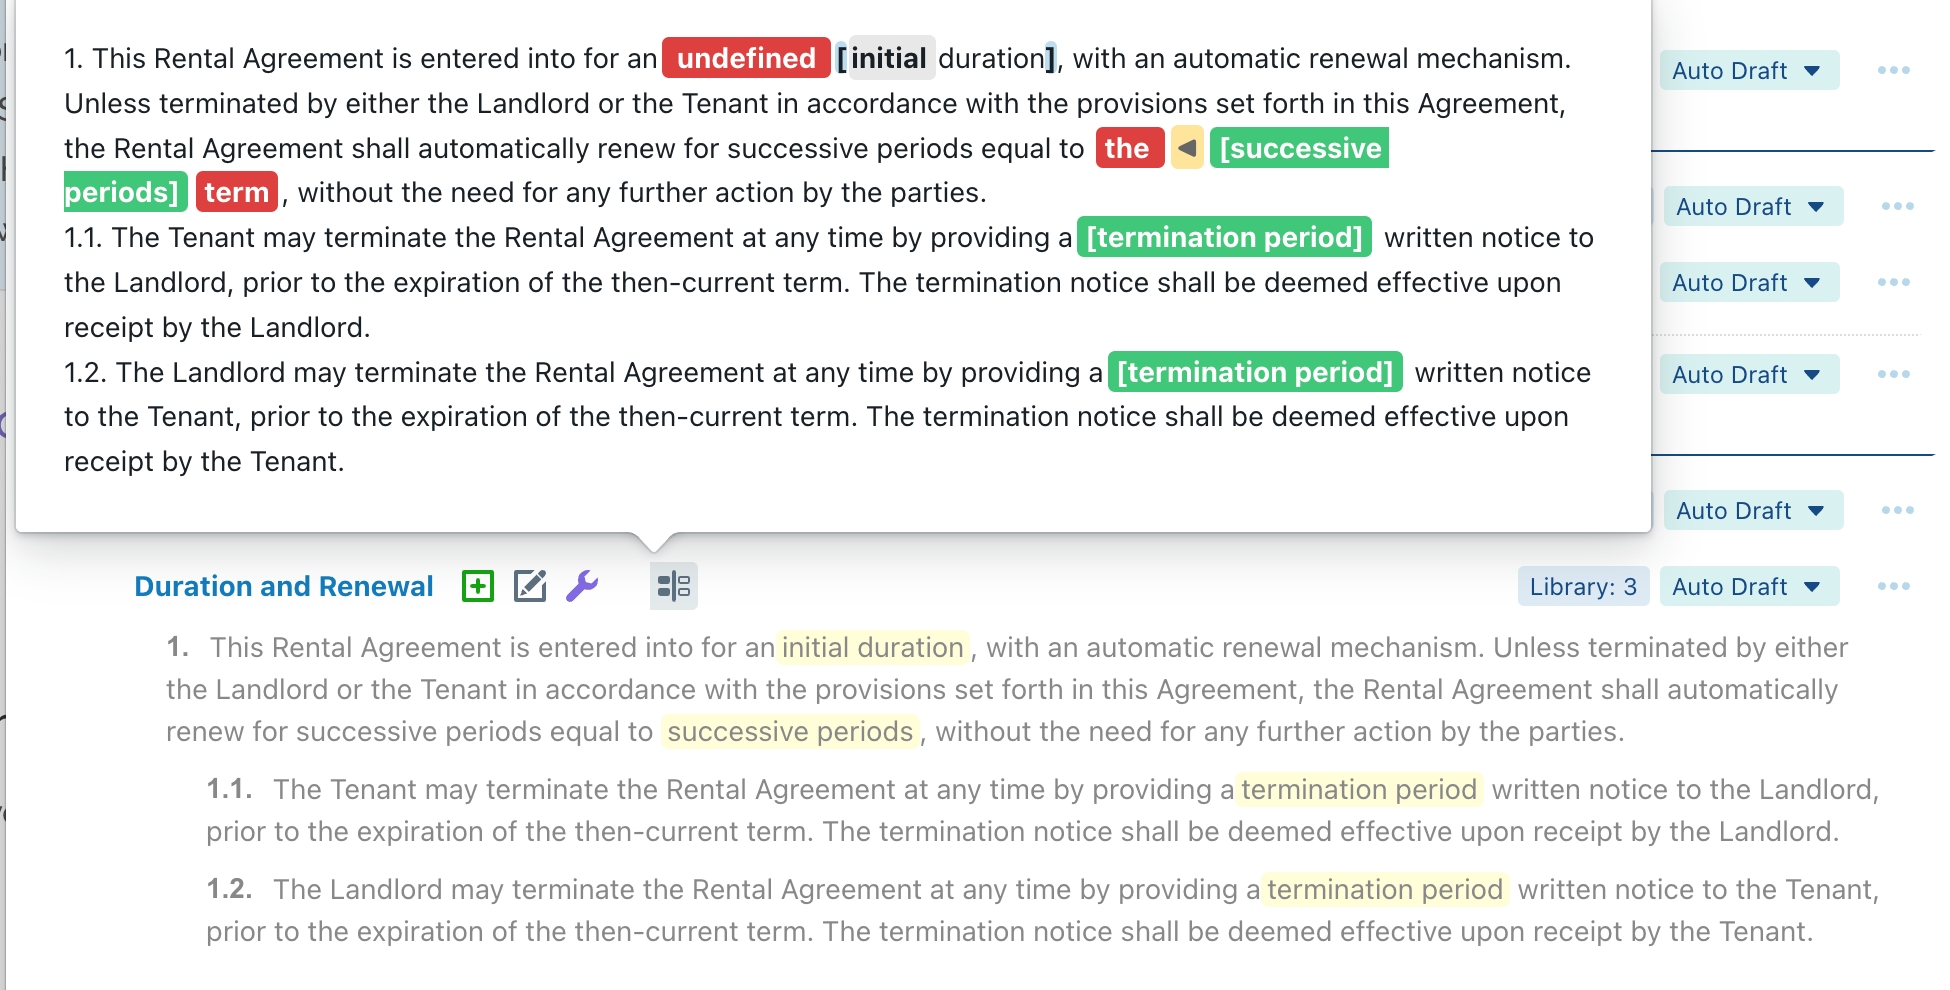
When you have changed the contents of a clause (either manually, or through the AI), you can click on the comparison button (at the right of the title) to get an instant comparison between the new and the old version of the clause. This can turn out particularly useful for subtle changes!
Step 4: Adding additional clauses
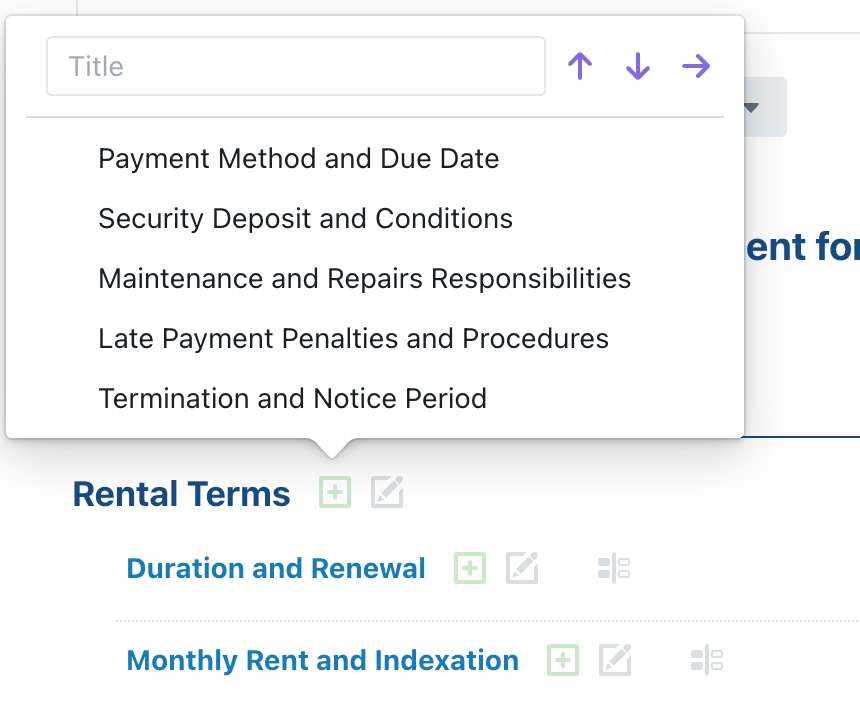
You can ask the AI to suggest additional sub-clauses to insert in your document, by clicking on the green + icon of a top-level clause.

When you then click on the Clause suggestions box, you get a list of five potentially interesting sub-clauses you can add to the top-clause. Simply click on one of those suggestions to add it as a sub-clause (and click it again to remove it if you accidentally clicked it).
Step 5a: Exporting your document
When you are happy with the result, you can click on the export button.
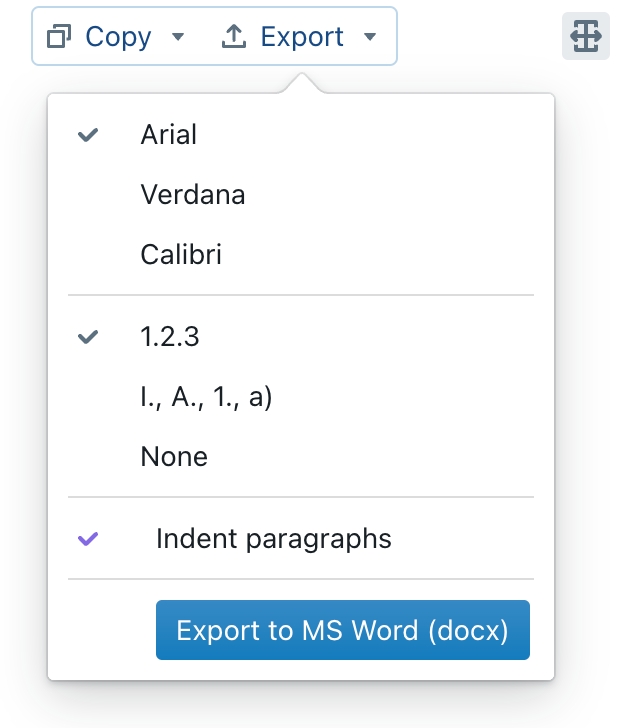
What you will see in the dropdown menu, depends on whether you have created custom document layouts in Clause9. If you have not done so, then ClauseBuddy will use a default layout, which you can tweak with the options in the menu.
Conversely, when you have created custom layouts, you will see those listed.
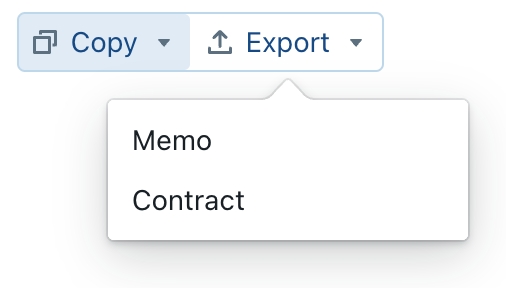
If you do not have access to Clause9, then you can request us to create such template on a consultancy basis. Send us an email if you are interested!
Step 5b: Insert your contents into the current Word-document
If you are not interested in creating a stand-alone document, you can insert the generated content directly into the currently opened MS Word document by clicking on the Copy button at the top. Alternatively, if you only want to insert one or more clauses (instead of the entire document), you can click on the "..." button at the far right of each clause, and choose Insert into document.
If you have opened ClauseBuddy inside MS Word, and the layout of the currently opened MS Word document was recognised as a pre-defined styling template in ClauseBuddy, then you simply have to press the Copy button.
Conversely, if the layout of the currently opened document is not recognised by ClauseBuddy, then you will see a dropdown list similar to the one you see when inserting regular clauses into a document (no styling for plain text, minimal styling, guess styling, etc.)
Dealing with placeholders
If GPT4 uses placeholders, or you insert them themselve when editing a clause (or using existing clauses from your library), then those will be shown in yellow and picked up by ClauseBuddy and automatically collected in a list.
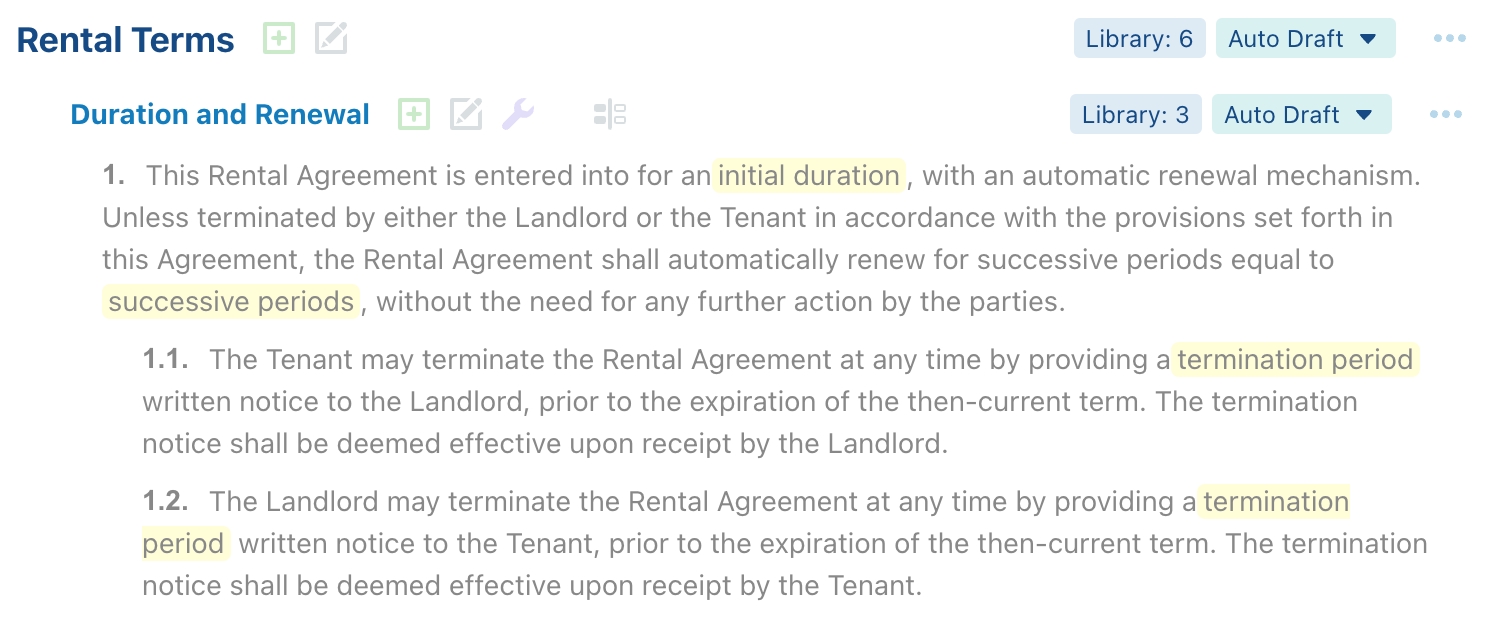
You can then manage that list by clicking on the document drawer button at the far right, and going to the placeholders submenu.

In the document drawer, you can then assign values to each placeholder (remove any content to turn it again in a yellow-colored text). All clauses that use the placeholder will then be automatically updated — i.e. the yellow background will be gone, and the text will be replaced by what you entered in the placeholders list.
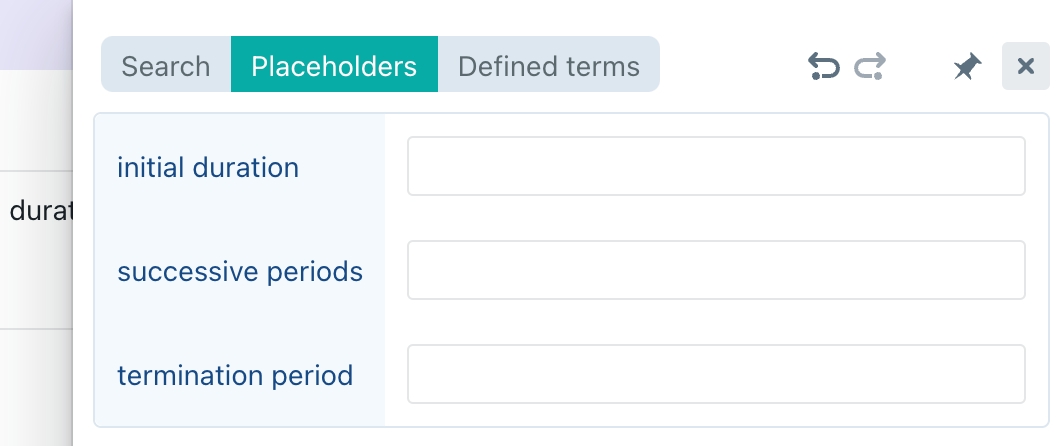
Dealing with defined terms
ClauseBuddy instructs GPT4 to communicate all the defined terms it uses when generating new content. Those defined terms are available in the list in the Defined terms part of the document drawer, which you can manage by clicking on the document drawer button at the far right.

You can also manually create defined terms by clicking on the + button.
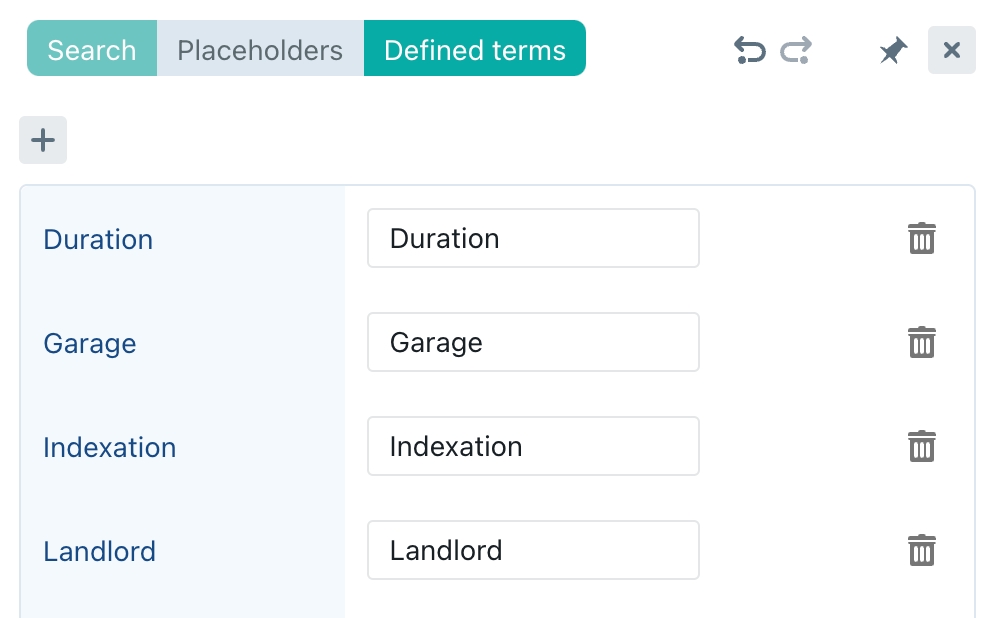
When GPT4 drafts new content, it is instructed to "take into account" those defined terms, and try to integrate them as much as possible. In addition, when you click on the Adapt content to document option (in the popup-list that appears when you click on the wrench-icon next to each clause's title), GPT4 will try to detect whether a defined term needs to be converted into a defined term from your managed list.
For example, when your managed list of defined terms would contain the word "Client", while some clause you have inserted earlier (e.g., from your clause library) would talk about "Customer", then GPT4 should replace "Customer" by "Client". Of course, don't expect too much from the AI in this regard — it is usually given very little context, and even humans could significantly argue whether "client" is the same as "customer". So stay alert...
Last updated