
Managing Truffle Hunt baskets
ClauseBuddy strongly encourages you to create different baskets (Truffle Hunt) — e.g., one for your Corporate Department, one for your Employment Department, and one private basket for each individual legal expert. For compliance reasons, you want to subdivide a department into such separate baskets.
You need to be an administrator in order to create, update or delete baskets. An administrator can then define, for each basket which users are allowed to upload or remove content to/from it.
Different baskets
Truffle Hunt allows you to create different "baskets" with documents & clauses — e.g., one for the Corporate department, one for Employment, one for IT/IP, and perhaps also a personal basket for every legal expert.
Creating different baskets is not only recommended to create a primary segmentation within your clauses (i.e., most of the time an employment lawyer is not interested in finding IP-related documents & clauses), but is also useful for compliance reasons and to ensure internal information rules are met.
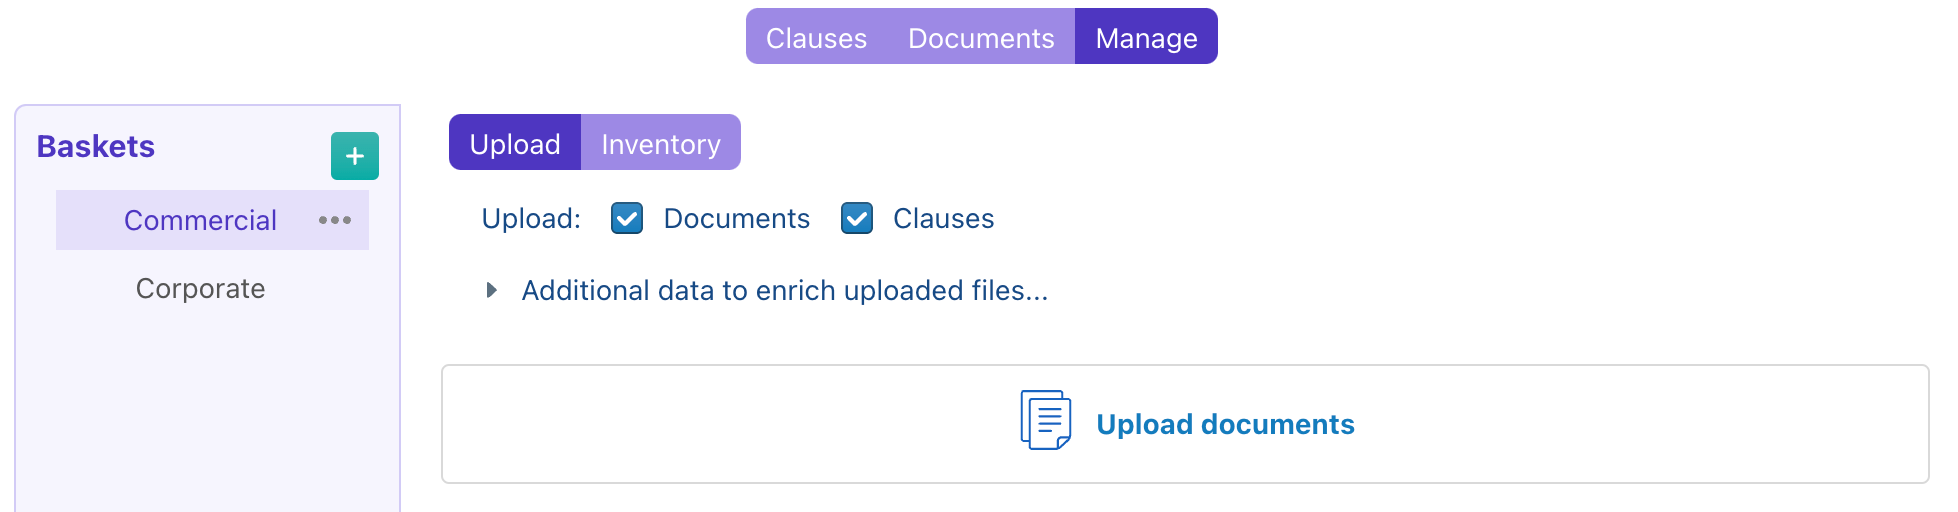
Baskets can be managed by clicking on the "Manage" top of the screen. You will then see the following interface, containing a list of all your baskets at the left side.
Creating a new basket
To create a new basket, you click on the big green plus icon, configure it, and click on the Apply button.
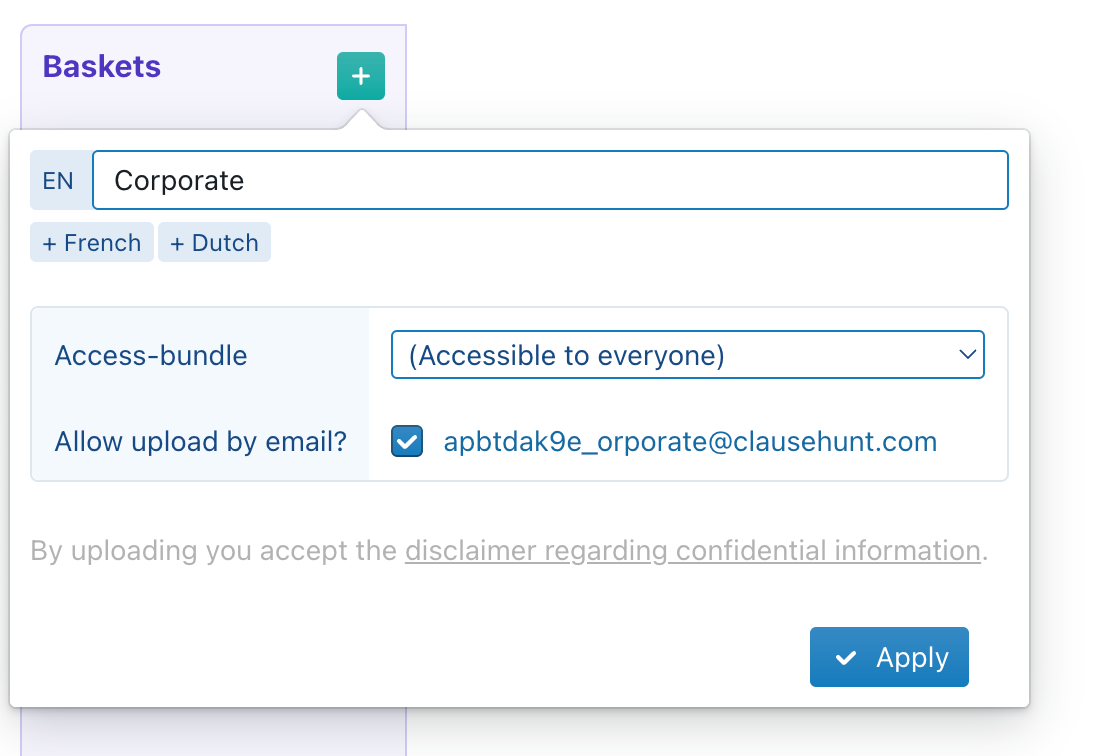
The label should contain a friendly description of your locker/basket (e.g., "Commercial Templates" or "Mary Johnsson's Documents") — if relevant even translated into different languages.
In the Access-bundle box you should select an access-bundle, to define who gets access to a certain locker/basket, and who can upload / remove documents from it. Users need "Read & Use" rights to search, and need "Edit" rights in order to upload or remove documents from a locker/basket. See also the selection below on personal baskets.
When you activate the Allow upload by email? option, authorised users can upload documents by sending an email to the specified email address. See the separate section below for more details.
Uploading documents by dragging documents
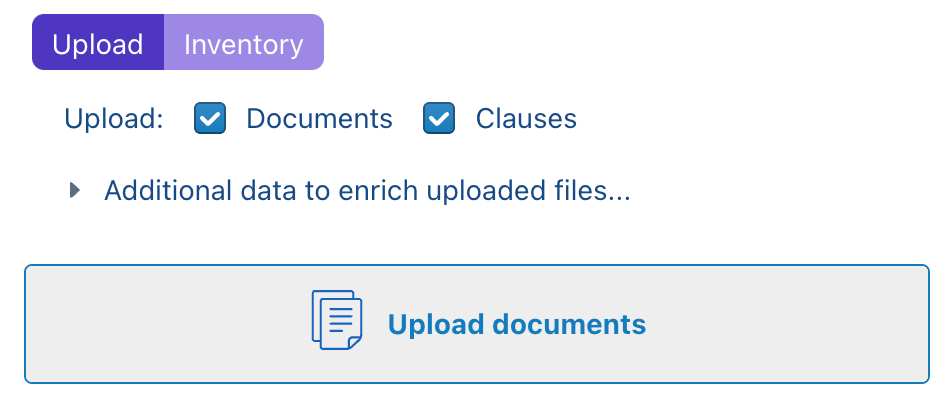
The primary way to get documents into Truffle Hunt is by dragging them onto the "Upload documents" button from your Windows Explorer or Mac Finder window. Alternatively, you can click on this button and select one or more documents through your operating systems' file selection dialog box.
Some tips & tricks:
You can drag multiple files at once. In fact, you can even drag an entire folder that contains subfolders, sub-sub-folders, etc. ClauseBuddy will completely ignore the folder structure and extract all your DOC/DOCX/PDF files from it.
There is a limit of 1000 files that you can drag in one go. Technically a basket can contain as many documents as you want, although in practice — to avoid noisy results — you will probably want to limit yourself to a few thousand documents anyway.
There is a limit of 25MB per file. PDF files are usually much larger, but you can get around this by converting the PDF file to Word and removing any images.
If you upload less than 20 files at once, then ClauseBuddy will process them in real-time for you, meaning that ClauseBuddy will send a file to the server, wait for it to be processed, and only then send the next file.
If you upload more than 20 files at once, then ClauseBuddy will transfer them all at once to the server. The server will then process these files in the background and send you an email once it's done.
Through the checkboxes above the "Upload documents" button, you can indicate whether you are interested in both the full document's content and the extracted clauses, or only one of them. If, for example, you do not want clauses to be automatically extracted for a particular set of documents, you can uncheck the "Clauses" checkbox.
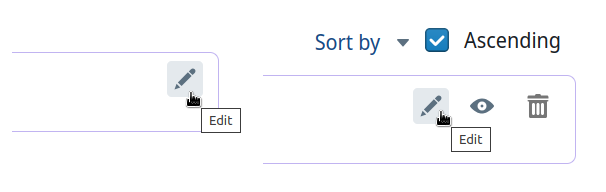
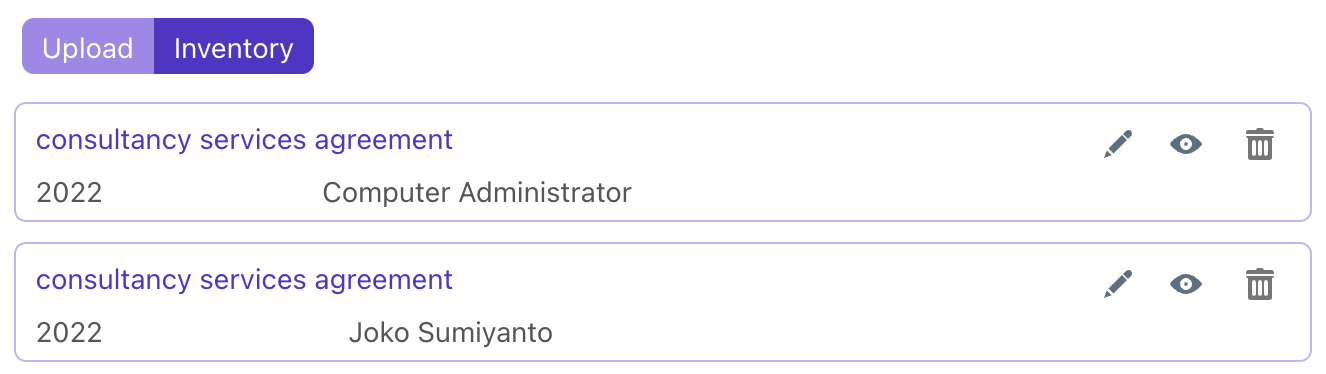
ClauseBuddy will automatically extract metadata from the DOCX/PDF file that you are uploading. However, you should be aware that the information in these files is generally noise — as most lawyers know, the DOCX properties often refer to the law firm that happens to have created the first draft, perhaps more than 15 years ago. If you want to manually set the author, year, client, dossier, etc. for an entire batch of files before uploading them, then you can do so through the Additional data to enrich uploaded files... form. Alternatively, metadata can be edited on individual files after upload — either on the same Upload tab or the Inventory tab — by clicking the 'Edit' icon:
Even though many files technically mention some author, it is quite likely that that author will not be correct. In practice, many Word-files contain the name of the name of the initial author that at some point in time created the document. However, any subsequent edits made by other persons will not cause the author's name to get updated in the Word file, so that many legal documents contain embarrassing information, such as the name of some lawyer in another law firm, whose document was reused.
In addition, many law firms scrub enrichment data from a DOC/DOCX file before transmission by email. This scrubbing is yet another reason why you may want to manually complete the author's name.
Uploading documents by email
Uploading documents by email can be a very convenient feature to gradually upload documents, considering that most legal experts make heavy use of email. When an interesting document is drafted — e.g. a new template — you can simply forward this file to the specified email address, instead of having to manually drag in the file.
Notes:
Any PDF, DOC or DOCX attachment will be automatically extracted from the email, and uploaded, as if you had manually dragged the file onto the "Upload documents" button.
You can attach multiple files to the same email.
The software platform will check the sender's email address; if the user is not allowed to manually upload documents to a basket, then sending by email will be refused as well.
All the other data within the email (subject; body; persons in CC or BCC; etc.) will be completely ignored.
It can take about one minute for the file to get processed; the sender will also receive an email confirmation with an overview of all the documents that got uploaded.
Immediately afterwards, the email will be completely and permanently destroyed.
The email address to which you have to send the emails looks a bit funny, but this is intended as a security measure, because the address is generated semi-randomly, so is difficult to guess. Should you ever want to change the address, you can click on the "Regenerate" button.
Other means to upload
Uploading through iManage
If you happen to use iManage as a document management system, then you can also send files or folders to ClauseBuddy using dedicated buttons in iManage. This requires a significant technical setup, so please have your administrator contact us if you are interested in this feature.
Uploading through an API
You can also upload documents in batch through our so-called "REST API", e.g. to perform server-to-server transfers of thousands of files from some filing system to ClauseBuddy. Also this requires significant technical expertise, so will need to involve your IT-team.
Editing a basket
Editing the properties of a basket
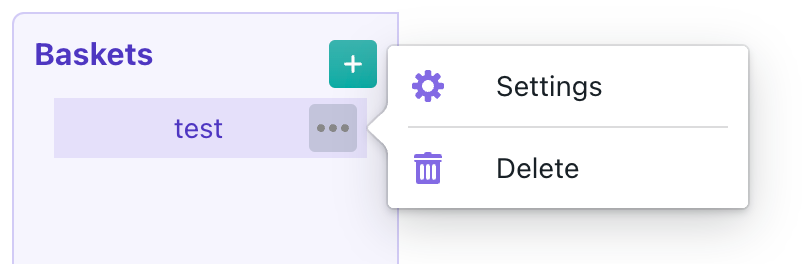
To edit the name, access rules and email upload settings of a basket, you click on the ... at the right-side, and select Settings.
Editing the properties of a document
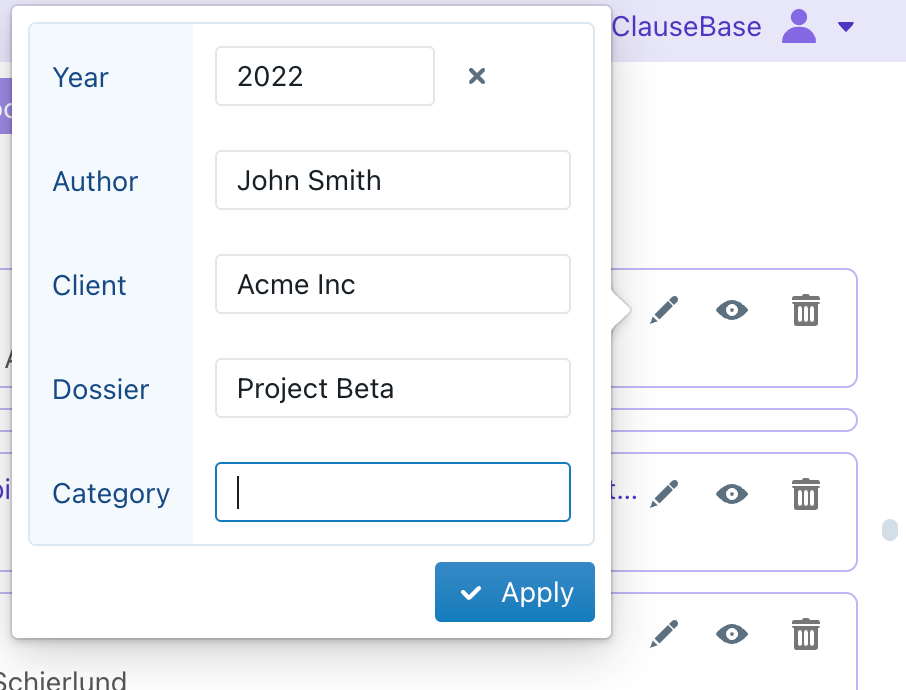
You can edit the year, author, client, dossier and category of an individual file by going to the Inventory tab of a basket and clickin on the pencil icon at the right side.
Next, you can edit all properties through the popup dialog box.
Deleting a document
You can delete a document by going to the Inventory tab, holding Shift on your keyboard and clicking on the trash-can icon at the right side. (You must hold Shift to avoid accidental clicks.)
Alternatively, you can delete a document by clicking on the "..." button in the upper-right corner of the currently visible document in the Documents mode.
Deleting a clause
You can delete an individual clause by going to the Clauses mode and clicking on the "..." button in the upper-right corner of a clause.
Deleting a basket
You can delete a basket by clicking on the ... at the right side, and then selecting Delete.
You will have to confirm that you truly want to delete the basket, because this process will irreversibly delete all your documents and clauses in it.
Personal baskets
Through its access bundles system, ClauseBuddy allows you precisely configure which users have access to certain baskets. Without any special facilities, it is therefore possible to create baskets that only grant access to a specific user.
However, many customers want to automatically give personal baskets to each of their users. ClauseBuddy therefore allows customers to have personal baskets automatically set up for both existing and new users.
The personal baskets that are created, are — technically speaking — not very different from the "regular" baskets that get created; they just get created automatically / in bulk and automatically get the access bundle of a certain person, and a certain predefined "Category".
Once created, the personal baskets can be changed just like any other basket. For example, you can change the access bundle so that specific colleagues of the original user also get access. You can even remove it from the list of personal baskets by simply changing the category.
Creating personal baskets for existing users
In order to create personal baskets for existing users, you must do the following as an administrator:
Go to the Manage tab of Truffle Hunt and click on the green + button, and then the "..." button in the lower-right corner of the popup-dialog box. Choose Create missing Personal baskets in bulk

In the new popup-window that appears, choose either All (create the missing baskets for everyone), Groups (create them for a specific group of users) or User (create a Personal basket for one specific user).

Creating personal baskets for new users
You can configure ClauseBuddy to automatically create personal baskets by going to the User setttings as an administrator, and choosing New user defaults.

At the bottom of the settings pane that then appears, you can enable the Personal Truffle baskets. When you activate this option, you can see a few more settings:
The Prefix of the personal baskets, in the various languages you're dealing with. Technically speaking, the values you enter here will be used for the Category of the new basket.
The Include checkboxes allow you to specify whether the personal baskets should store clauses, documents, or both.
The Allow upload by email? setting allows users to upload new documents/clauses by email.

Pressing Save is enough if you're only changing the personal baskets setting; it's not necessary then to press Save for all users.
Language support
Most legal drafting software packages claim to be "language-agnostic". This sounds fancy, but "language unaware" would actually be a nicer term, because such software does not try to understand the words inside a document or clause. So whether you're uploading a document in English, Spanish, Chinese or Klingon — it does not matter for that software, it will simply allow you to search for individual characters.
ClauseBuddy does the opposite: it is very much language aware, and will determine the language of each document, so that you can perform a better search. For example:, when you search for "agreement" in English, it will also automatically search for "agreements" in plural; but the rules for what constitutes a singular or plural differ between languages. Similarly, when splitting a document into individual clauses, ClauseBuddy will use different anchoring points depending on the language (e.g., "Chapter 5" in English, but "Chapitre 5" in French) to decide how to split up clauses and how to understand numbering.
Truffle Hunt will automatically determine the language of your document based on its contents. While this almost always works correctly, you should be aware of a few caveats:
Truffle Hunt automatically subdivides a basket into different languages and will then search in one of the sub-baskets depending on the search term that you enter. If, for example, you search for "logiciel licence" then Truffle Hunt will search in the French sub-basket of your selected basket, and only return French documents & clauses. Conversely, if you would search for "assignment confidentiality", it will search in the English sub-basket.
If you enter only a single word, then ClauseBuddy may end up searching in the wrong basket. For example, the word "software" will be a valid word in many different languages. The solution is simple: just add one or more terms to your search query, so that ClauseBuddy can correctly determine the language and subsequently search in the right basket.
Uploading PDF files
ClauseBuddy accepts .DOC, .DOCX and .PDF files. In the background, it will automatically convert all of them into .DOCX and store them in the database. Also useful to know that it is even possible to upload scanned documents.
You should be aware, however, that the conversion process for PDF-files is inherently noisy, and will always result in files of lesser quality than .DOCX files.
The reason is that PDF-files were designed for high-fidelity printing purposes, and not for structuring content. Essentially, a PDF file stores characters individually, so that a paragraph such as "Buyer shall undertake..." is essentially saved as "Put the letter "B" in Arial 10pt black at 5.23cm from the top side of the page and 2.34cm from the left side. Next, put the letter "u" at 5.23 cm from the top and 2.35cm from the left. And so on."
ClauseBuddy will have to "guess" which words belong together, and where paragraphs start and stop. Usually its guesses are reasonably OK, but there will be many mistakes made. This is not specific to ClauseBuddy, of course, as anyone knows who has converted PDF files into DOCX.
Last updated